How to Design a Test Automation Process
Designing a test automation process is more than just writing scripts or selecting a tool. It’s about creating a repeatable, reliable, and scalable workflow that saves time, reduces errors, and boosts confidence in every release. Whether you are starting from scratch or optimizing your existing process, this guide outlines each critical step to build a solid foundation for automation success.
Map the Current Manual Process
Before you can start automating your system test cases, it’s essential to map out how you currently test them manually. This step ensures that your automation reflects real test behavior and not just assumptions. Think of this as documenting your testing muscle memory — every click, every input, every wait you’ve learned to do instinctively. Without this step, automation can miss important details that you catch without thinking during manual runs.
Start by picking one complete system test case you regularly execute — for example, "User registration with email verification" or "API-based order creation and inventory update." Walk through the test as if you were executing it from scratch. Note each action you take: What’s the starting point? What inputs do you provide? What response or behavior do you expect from the system? Capture everything — including the data you use, how the environment is set up, and which validations you perform along the way.
Next, document these actions in a step-by-step format. You can use a spreadsheet, a flowchart, or even pen and paper — whatever helps you break it down clearly. For each step, write down the exact input, expected output, and any decision you make based on what the system shows.
An example:
| Action Description | Input Data | Expected Output / Behavior | Validation Criteria | Notes / Observations | |
|---|---|---|---|---|---|
| Launch the application | URL | Login page should load | Page title contains "Login" | App is slow on first load | |
| Enter valid username and password | user@example.compassword123 | Dashboard loads with user name shown | Text “Welcome, User” appears | Auth token generated via API | |
| Navigate to order module | – | Order screen appears | URL contains /order | Spinner appears for a few seconds | |
| Click on “Create Order” | – | New order form opens | Form fields visible | Sometimes needs 2 clicks | |
| Fill and submit order form | Product ID: 789Qty: 3 | Confirmation message “Order placed” appears | Message is visible on screen | Backend job creates invoice | |
| Verify order entry in database | Order ID from UI | Order status is “Pending” in DB | SQL query returns 1 row | Check DB with read-only credentials | |
| Wait for inventory sync | – | Inventory reduced by 3 | API response shows updated stock | Poll every 30 seconds for up to 2 minutes |
Don’t skip over things like checking the database manually, waiting for a background job to finish, or refreshing the screen — these steps may seem small but are often critical in system testing.
Common “Invisible” Tasks in Manual System Testing
.
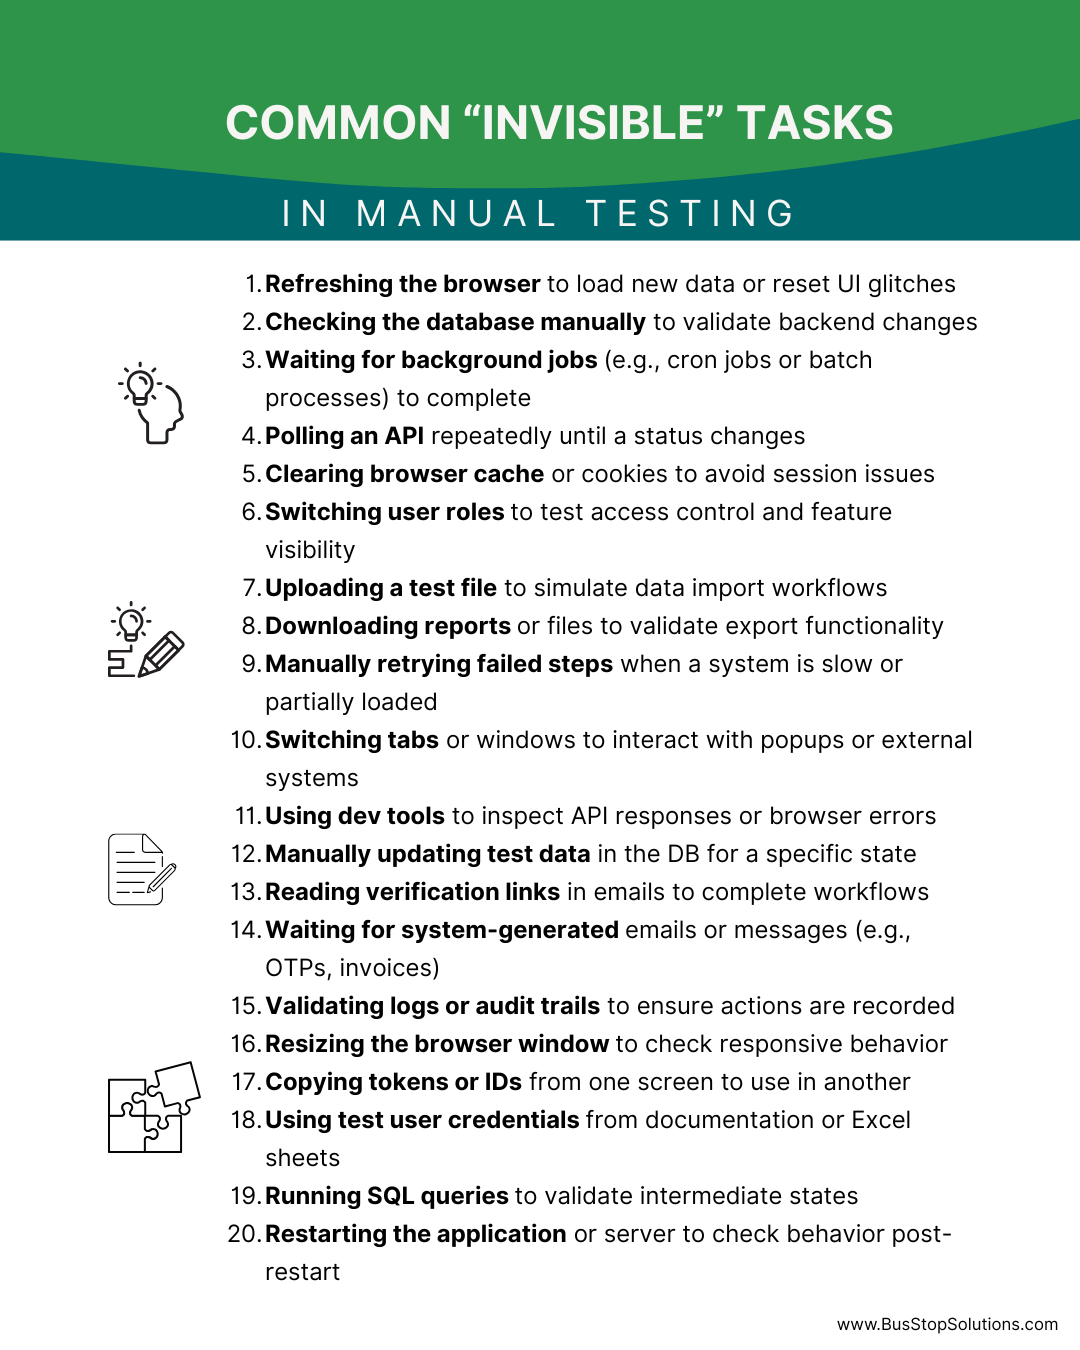
As you do this, watch for actions that are repeated across different test cases — like login, token generation, or status polling. These repeated steps will later become good candidates for reusable components in your automation. Also, flag any inconsistencies or steps that are too dependent on a person’s judgment — they may need clearer rules or data for automation to work effectively. This mapping is your foundation. It turns your real-world testing approach into a structured format that you can confidently automate and scale.
Map the To-Be Automated Process
Once your manual process is documented clearly, the next step is to envision how that process will work when automated. This means translating human actions into automated steps that a tool or framework can execute — consistently, reliably, and without manual oversight. Think of this as creating your automation blueprint: What stays the same, what changes, and what gets replaced entirely by scripts or tools?
Start by revisiting the manual steps you’ve already mapped. For each one, ask yourself: Can this step be automated directly? If yes, how — through a UI action, an API call, a database operation, or a scheduled job? For example, instead of manually logging into the system and navigating through the UI, your automation may directly invoke an authentication API and jump to a specific page with preloaded parameters. Similarly, instead of checking a database manually, your automation might run a query and validate the result automatically.
As you do this, create a parallel version of your test case — the “to-be” flow. This should capture the new, automated sequence of actions from start to finish. Identify where you'll use reusable components like login scripts or test data loaders. Highlight points that need waiting or polling (such as background jobs or async responses). Mark any conditional flows, retries, or exception handling that automation must support. This version of the process should be tool-agnostic for now — you're focusing on what will happen, not how it will be coded.
| Action Description | Input Data | Expected Output / Behavior | Validation Criteria | Can This Be Automated? (Yes/No) | Preferred Automation Method (UI/API/DB/Job) | Notes / Observations |
|---|---|---|---|---|---|---|
| Launch the application | URL | Login page loads | Page title contains "Login" | Yes | UI | Slow initial load on some networks |
| Enter credentials | Email + Password | Dashboard shows user's name | Text “Welcome, User” | Yes | UI or API | Token is generated via API |
| Navigate to module | – | Order screen appears | URL contains /order | Yes | UI | Spinner visible for a few seconds |
| Click "Create Order" | – | New order form opens | Form fields visible | Yes | UI | Occasionally requires two clicks |
| Submit order form | Product ID + Qty | Confirmation appears | Text “Order placed” | Yes | UI | Backend triggers job |
| Check DB entry | Order ID | Order status = "Pending" | SQL query returns 1 row | Yes | DB query | Validate using readonly DB access |
| Wait for sync | – | Inventory count updates | API shows new stock value | Yes | API + polling logic | Wait up to 2 minutes |
| Download invoice | Order ID | PDF downloaded | File saved in Downloads | Yes | UI or API | File name format must be validated |
| Clear test data | Order ID | Data removed from system | Confirmation message | Yes | API or DB | May require role-based access |
| Logout | – | Login page shown | Page title contains "Login" | Yes | UI | Session must be cleared |
This mapping also helps you decide the right test data strategy, triggers (manual vs. scheduled), and checkpoints to include. It becomes the bridge between your manual expertise and the automated future. It gives your automation team — or you, if you’re building the scripts — a clear path to follow without missing critical behavior. And most importantly, it ensures that the automation mirrors your real-world testing logic, not just the happy path.
Script the Process
Once you’ve mapped the manual flow and visualized the to-be automated steps, it’s time to begin scripting. This is where your test case takes shape as executable logic. Whether you’re using a code-based tool like Selenium or a no-code tool like BusStop, the goal remains the same: replicate the same validations you do manually, but in a consistent, repeatable, and scalable way. Think of scripting as documenting your test case in a language your tool understands — with precise steps, data, and expected results.
Start with the most stable and frequently used test flows. Use the “breakdown” and “preferred automation method” columns in your documentation table to guide development. For each step, translate the action into tool-specific instructions: a click, a form fill, an API call, or a database check. Make sure each step uses dynamic test data — avoid hardcoded values unless absolutely necessary. This keeps your tests flexible and reduces maintenance effort when inputs change.
As you script, organize your code or steps into reusable components. For example, login scripts, API token generation, or data cleanup routines can be used across multiple test cases. Group related scripts into suites based on modules or functionality. Use meaningful naming conventions and add comments where needed to make your scripts readable — not just for you, but for your team. A well-named test step like submitOrderFormWithValidData() is much easier to debug than testCase17_Step4().
Finally, include validations at each point where you’d normally check results in manual testing. Use assertions to verify that buttons are visible, responses are returned, or data is correctly saved. Add wait conditions, retry logic, or timeout handling for any step that depends on background jobs or external sync. Ensure failure messages are clear — when a test fails, you should instantly know why. A clear, clean, and robust script isn’t just functional — it’s reliable and ready to be integrated into your daily test cycle.
As-Is vs. To-Be Process for API Testing in BusStop
| Step | As-Is (Manual Testing) | To-Be (Using BusStop) |
|---|---|---|
| Define the API | Open an API tool, enter endpoint, manually configure headers/body | Open BusStop, enter endpoint, manually configure headers/body |
| Prepare Test Data | Create your Excel template for the API test data | Download auto-generated CSV template for structured test data |
| Prepare Test Data | Use Excel or copy-paste values into the tool | Upload CSV |
| Execute Each Test | Manually run one test case, check response | Run all rows as batch tests with one click |
| Validate Responses | Compare actual vs. expected manually or via eyeballing | BusStop auto-compares responses to expected values and flags mismatches |
| Handle Repetitive Tests | Pick up the next test-data | N/A as all the scenarios are uploaded in the CSV |
| Organize Test Scenarios | Maintain a list or tracker in Excel | Download the CSV with the responses and assertions results |
| Update Expected Responses | Manually edit stored values or Excel fields | Update the test data and expected output in the system |